If your garage feels like an uninspired, oil-stained space that’s seen better days, it’s time to breathe life and character into it with rustic epoxy garage flooring. This flooring trend combines natural wood charm with industrial-grade durability—creating a look that’s both rugged and refined.
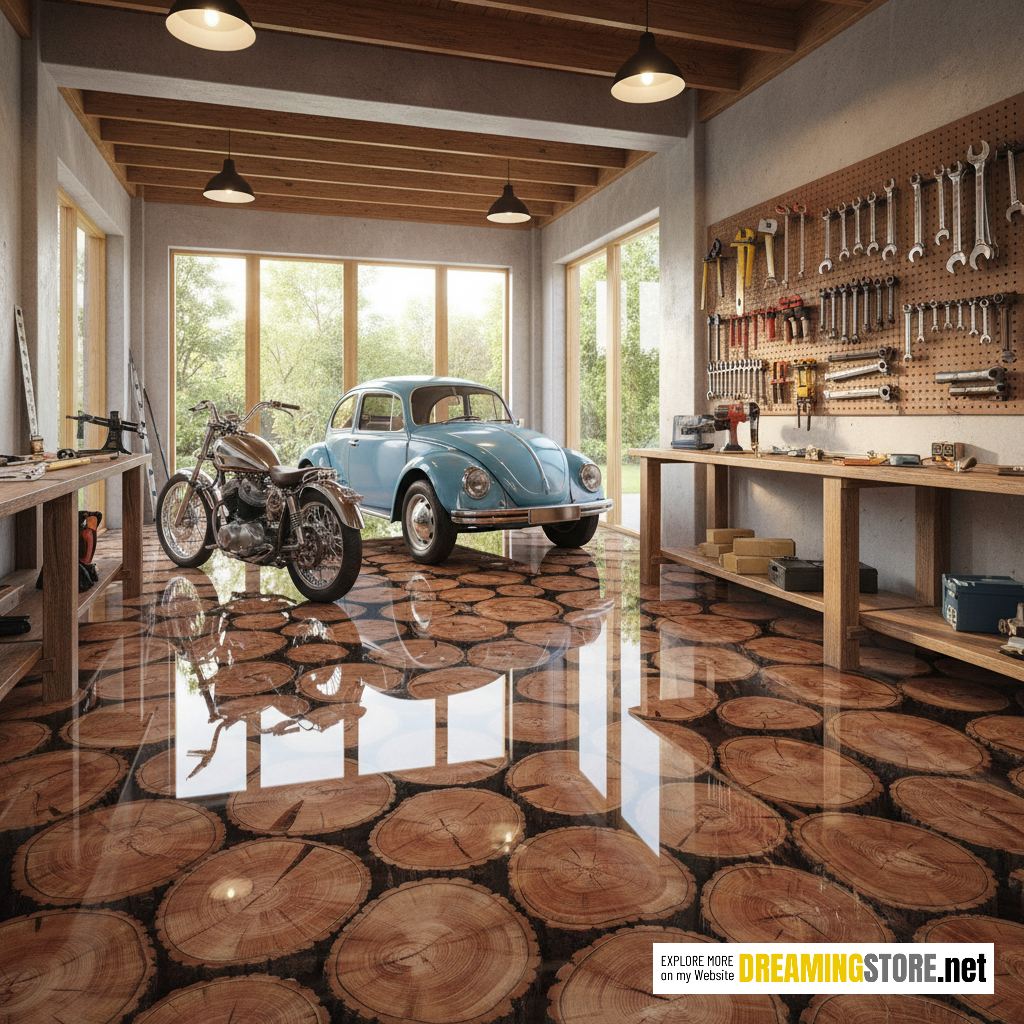
Unlike plain concrete or simple paint coatings, rustic epoxy garage flooring uses a blend of real wood slices or wood-effect materials encapsulated in crystal-clear epoxy resin. The result? A glossy, durable surface that reflects light beautifully and turns your garage into a stylish extension of your home.
Whether you’re parking a classic car, showcasing a motorcycle, or transforming your garage into a man cave, this flooring style enhances both appearance and performance. In this guide, we’ll walk you step-by-step through the installation process, materials you’ll need, and expert tips to ensure your new flooring looks absolutely stunning and lasts for decades.
Why Choose Rustic Epoxy Garage Flooring?
1. Aesthetic Appeal
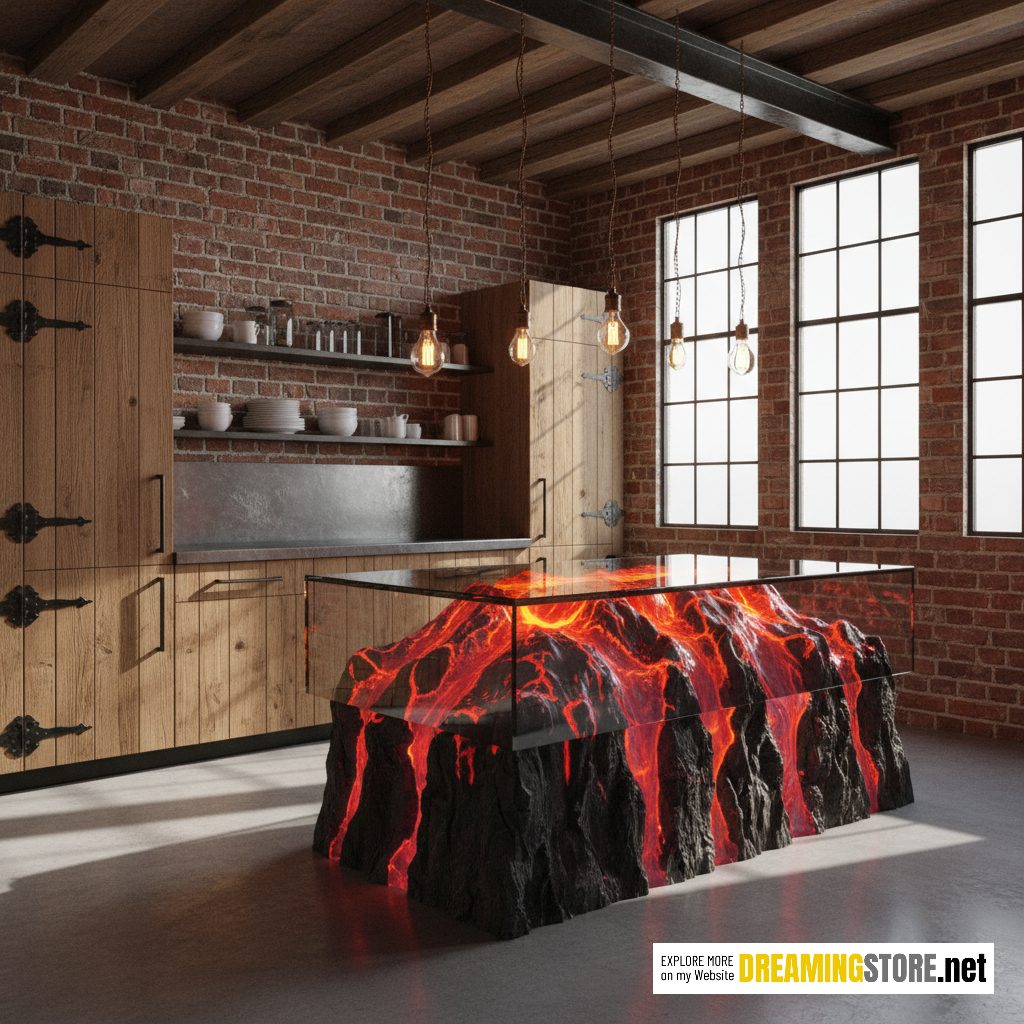
The aesthetic charm of rustic epoxy garage flooring lies in its fusion of nature and modern design. The circular wood log slices or reclaimed wood inserts create a natural pattern under a clear, glossy resin layer. Each section feels like a piece of forest preserved in your garage, making your floor as visually striking as your car collection.
2. Durability
Epoxy flooring is known for its unmatched resilience. The topcoat protects your surface from oil stains, tire marks, and moisture damage. Combined with solid wood or imitation log rounds, rustic epoxy garage flooring offers beauty that’s built to last.
3. Customization
You can tailor the rustic theme to fit your personality. Choose lighter or darker wood tones, add metallic flakes, or experiment with tinted epoxy for a deeper, amber finish. The versatility of design ensures your flooring becomes a personal statement, not just a surface.
Tools & Materials You’ll Need
Before starting your installation, prepare all the essential tools and materials. Having everything ready will make the process efficient and seamless.
Materials
-
Epoxy resin and hardener (high-quality, UV-resistant)
-
Primer epoxy coat
-
Wood slices (kiln-dried log rounds or reclaimed wood discs)
-
Concrete patching compound (for surface repair)
-
Clear topcoat sealer
-
Painter’s tape
-
Protective gear (gloves, goggles, respirator)
Tools
-
Mixing bucket and drill with mixing paddle
-
Concrete grinder or sander
-
Trowel and notched spreader
-
Paint roller and squeegee
-
Heat gun (for removing bubbles)
-
Vacuum and mop

Step-by-Step Guide to Installing Rustic Epoxy Garage Flooring
Step 1: Prepare the Surface
Proper surface preparation is the most critical step for a flawless rustic epoxy garage flooring installation.
-
Clean thoroughly: Remove all dust, oil, and debris. Use a degreaser if needed.
-
Repair cracks and holes: Fill gaps using a concrete patching compound.
-
Sand or grind: Use a concrete grinder to smooth out imperfections and open the pores of the surface for better epoxy adhesion.
-
Vacuum and mop: Clean the surface completely to remove dust residue.
Pro Tip: The cleaner and smoother the surface, the better your epoxy will bond—so take your time on this step.
Step 2: Apply the Primer Coat
The primer acts as the foundation for your epoxy flooring system. It helps seal the concrete and prevents air bubbles during the pour.
-
Mix your primer epoxy according to the manufacturer’s ratio (usually 2 parts resin to 1 part hardener).
-
Pour the mixture onto the floor and spread evenly using a roller or squeegee.
-
Allow the primer to cure for at least 8–12 hours.
You’ll notice the surface starting to take on a glossy sheen—this ensures the wood and epoxy layers above will adhere seamlessly.
Step 3: Place the Wood Slices
Now comes the fun and creative part—arranging your log slices.
-
Select kiln-dried slices of varying diameters for a natural look.
-
Arrange them like puzzle pieces across the floor. Avoid leaving large gaps between them.
-
Use painter’s tape to mark edges and keep the layout consistent.
-
Once you’re satisfied with the arrangement, adhere the slices to the primed surface using a thin layer of epoxy or construction adhesive.
Let the adhesive dry completely before moving on. The layout should look like a rustic wood mosaic across your garage floor.
Step 4: Pour the First Epoxy Layer
This layer seals and encapsulates the wood pieces.
-
Mix your epoxy resin and hardener precisely (follow the brand’s directions).
-
Slowly pour the mixture across the surface, covering the wood slices evenly.
-
Use a squeegee to spread it and a heat gun to eliminate air bubbles.
Allow this first pour to self-level and cure for at least 24 hours before proceeding.
Pro Tip: Ensure your workspace is dust-free while curing—cover the area to prevent particles from settling on the surface.
Step 5: Build Up the Layers
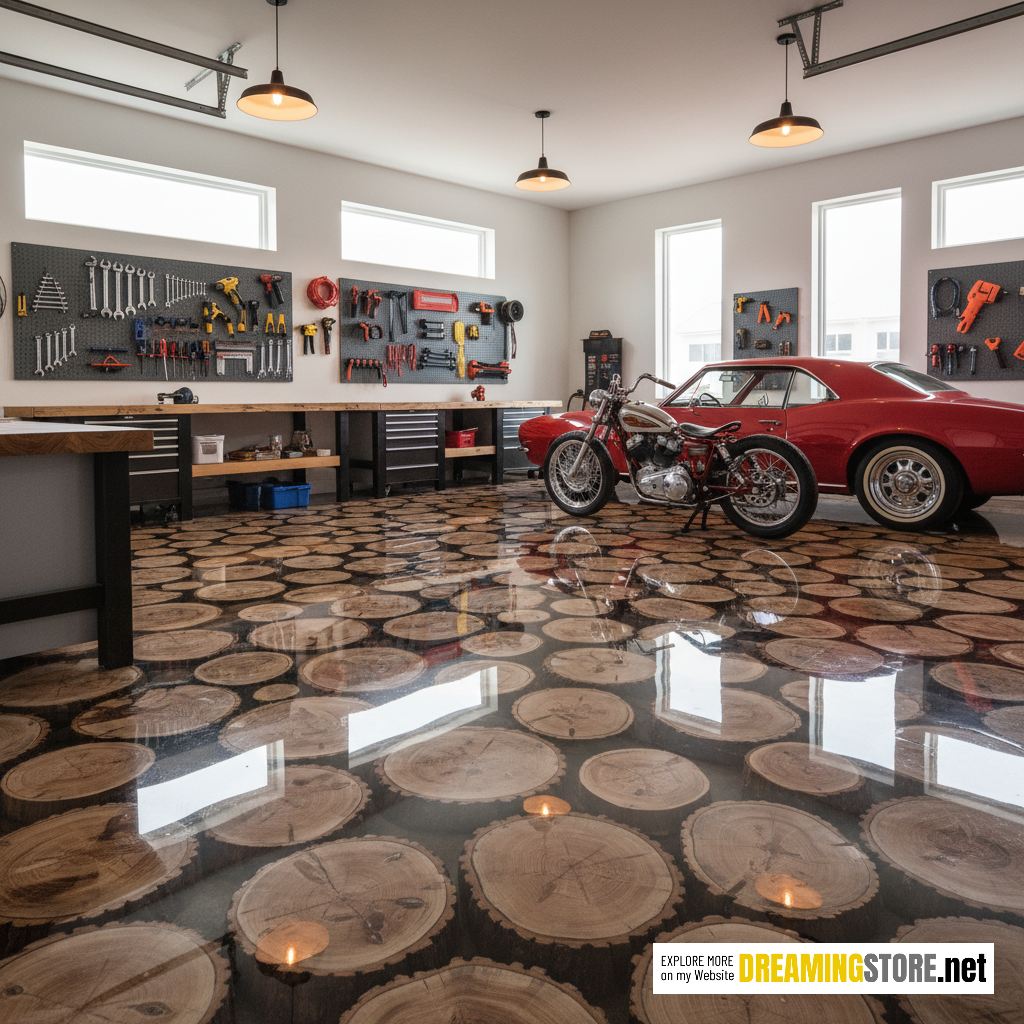
To achieve that deep, glass-like finish typical of high-end rustic epoxy garage flooring, multiple thin pours are better than one thick layer.
-
After the first pour cures, lightly sand the surface to remove imperfections.
-
Clean the area thoroughly before applying the next layer.
-
Repeat until you reach your desired thickness (typically 2–3 layers).
Each additional layer enhances the reflective depth of your epoxy floor, creating a mesmerizing “3D” wood effect.
Step 6: Apply the Final Topcoat
The final clear topcoat acts as your shield against scratches, UV fading, and chemical spills.
-
Mix and pour the topcoat evenly.
-
Roll it out with a foam roller for smooth coverage.
-
Let it cure for 48–72 hours before parking vehicles or heavy equipment.
Once cured, the surface should feel glass-smooth with a brilliant mirror finish—turning your garage into a true showpiece.

Maintenance Tips for Long-Lasting Beauty
Your rustic epoxy garage flooring doesn’t just look stunning—it’s built to handle daily use with minimal upkeep. Here’s how to maintain that brand-new shine:
-
Regular cleaning: Sweep and mop with a mild detergent once a week.
-
Avoid harsh chemicals: Use pH-neutral cleaners to protect the epoxy gloss.
-
Prevent scratches: Place mats under tires and tool chests.
-
Wax occasionally: Applying an epoxy-safe wax every few months enhances the luster.
With these steps, your floor will retain its breathtaking rustic glow for decades.
DIY vs. Professional Installation
DIY Installation
Doing it yourself is a great way to save money and experience the satisfaction of personal craftsmanship. DIY kits are available with pre-measured epoxy and color options.
However, you’ll need patience, precision, and a dust-free workspace. Any mistake—like improper mixing ratios or trapped air bubbles—can affect the final finish.
Professional Installation
Hiring a professional ensures an immaculate result. Pros use industrial-grade epoxies, moisture meters, and professional sanders. They can also create custom designs—such as embedded logos, metallic pigments, or additional sealing layers.
While more expensive, it’s ideal for high-end garages or showrooms where perfection matters.
Cost Breakdown (2025 Guide)
| Item | DIY Cost Range | Pro Installation |
|---|---|---|
| Epoxy Resin & Hardener | $250 – $400 | Included |
| Wood Slices / Log Discs | $100 – $300 | Included |
| Tools & Supplies | $150 – $300 | – |
| Labor | – | $800 – $1,800 |
| Total Estimated Cost | $500 – $1,000 | $1,200 – $2,500+ |
Note: Custom designs, metallic pigments, or larger garages can increase total cost.
Links to purchase similar products: Click here
Design and Customization Options
You can personalize your rustic epoxy garage flooring with a variety of styles:
-
Dark Walnut Finish: For a moody, vintage cabin feel.
-
Light Oak Finish: Ideal for bright, modern garages.
-
Smoked Gray Epoxy: Adds industrial sophistication.
-
Tinted Amber Resin: Enhances warmth and contrast.
Some homeowners even embed metal gears, logos, or LED strips between epoxy layers for a one-of-a-kind statement floor.
FAQs about Rustic Epoxy Garage Flooring
Q1. How long does rustic epoxy garage flooring last?
When installed correctly, rustic epoxy garage flooring can last between 15 to 25 years or more. Its long lifespan comes from the strength of the epoxy resin, which bonds tightly to the concrete and seals it against moisture, chemicals, and wear. To extend its life even further, clean it regularly and avoid dragging sharp tools or metal stands across the surface. Periodic re-sealing every 7–10 years can also help restore that deep, glossy finish.
Q2. Can I install epoxy flooring over old concrete or painted surfaces?
Yes, but preparation is everything. Old concrete must be dry, clean, and free of contaminants like oil or wax. If the surface is painted, you’ll need to sand or grind off the paint layer before applying primer. Any cracks or holes should be filled and leveled using a concrete patching compound. If these steps are skipped, even the highest-quality epoxy can peel or bubble over time.
Q3. What makes rustic epoxy garage flooring different from standard epoxy floors?
Unlike standard solid-color epoxy, rustic epoxy garage flooring includes embedded natural materials—like log slices, reclaimed wood rounds, or printed wood textures—beneath a clear epoxy layer. This gives the floor a warm, natural character while maintaining the same industrial durability. It’s the perfect combination of aesthetics and strength, transforming your garage from a purely functional area into a designer space.
Q4. Is it safe to park vehicles on rustic epoxy floors?
Absolutely. Once fully cured, epoxy can easily handle vehicles weighing several tons. It’s resistant to hot tire pickup, oil spills, and chemical corrosion. The protective topcoat prevents stains from brake fluid or grease, making it ideal for daily vehicle use or even car showrooms.
Q5. How thick should epoxy layers be for the best results?
For a standard garage, epoxy layers typically range from 1/8 inch to 1/4 inch in total thickness. If you want a “deep glass” effect with your log slices or embedded textures, go with multiple thinner layers instead of one thick pour. This reduces the risk of bubbles and improves curing consistency.
Q6. Can epoxy floors be slippery when wet?
Glossy epoxy floors can become slippery, especially when covered in water, oil, or snow from tires. To combat this, you can mix non-slip additives—like fine silica sand or polymer grit—into the topcoat. These provide traction without compromising the shine. Alternatively, choose a satin or matte top finish for safer footing while maintaining beauty.
Installing rustic epoxy garage flooring is more than a home improvement—it’s a creative transformation. By merging natural wood textures with glossy epoxy durability, you achieve a stunning balance of nature and modern design.
Whether you’re a DIY enthusiast or working with a professional team, the result will always be remarkable: a gleaming surface that highlights your vehicles, tools, and craftsmanship in perfect harmony.
So roll up your sleeves, gather your materials, and let your garage become a true reflection of artistry and function combined.